Rooting your phone is a risky and complicated process. You may void your warranty by rooting your phone or worse end up bricking your phone. Do this at your own risk!
This article covers the “What”, “Why” and “How” of rooting your Android phone.
What is Rooting?
Rooting your Android simply means gaining control over your phone. Most Android phones that are available in the market are restricted in some ways. Manufacturers have good reason to prevent users from rooting their phones. They test their phones with a specific version of Android and cannot ensure that things will continue to work if a different ROM has been installed. In addition, you may end up voiding your warranty if you go down this route.
Why Should You Root?
Despite the pitfalls, why should you consider rooting your phone? If you are not convinced yet, here are some reasons that may tip the scales for you:
FlexiSPY has the ability to listen to incoming and outgoing calls on a target phone, capture instant messages, record keystrokes, take screenshots of apps as they’re used. However, most of these features are only available on rooted phones.
Now for some non-FlexiSPY reasons:
- Sometimes, newer versions of Android are made available to rooted users much earlier than the manufacturers make them available.
- Remove pre-installed software you may not want to use.
- Install a custom ROM like LineageOS
- Block ads in any app
The list is in fact endless. Google “advantages of rooting an android phone” for many more reasons.
How Do You Root Your Phone?
This is the tricky part and the steps differs a lot from one phone to another. Fortunately, sites such as XDA Developers and KingoRoot cover Android rooting quite well.
Method 1: Using the KingoRoot App
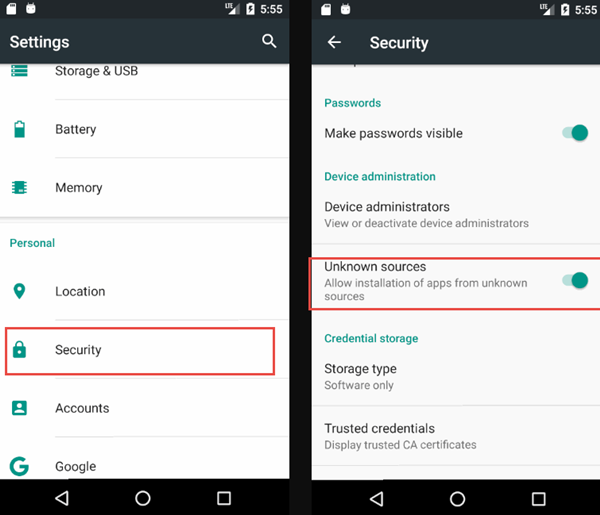
Step 1: Enable Unknown Sources
Before you can get KingoRoot on Android, you need to enable “Unknown Sources” from the Settings->Security. KingoRoot is not available on Google Play store but can be downloaded directly from the official website.
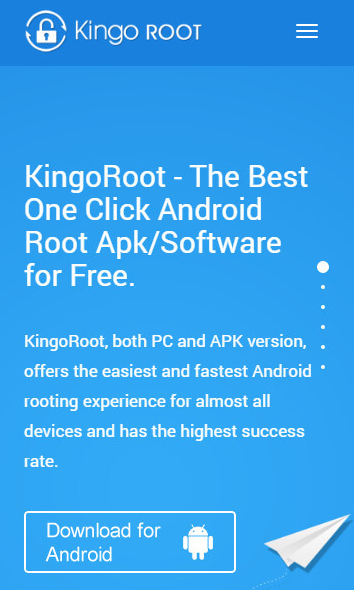
Step 2: Download and install KingoRoot
Once you have enabled “Unknown Sources”, head over to the KingoRoot website and download the .apk file. Once downloaded, tap on the file and install the KingoRoot app on your Android phone.
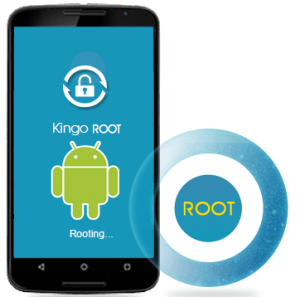
Step 3: Start the root process
Once installed, open the app and tap on the One Click Root button at the bottom. If successful, you’ll get the following screen:

If you’re on the hunt for an easy on-device rooting app then KingoRoot is one to try. Unfortunately, in my experience, I cannot strongly say that it will work for your device(s) so experiment to see. If you understand the benefits and risks of rooting then perhaps take your chances by installing the app. However, for potentially better success rate the developers offer a desktop software to root as well.
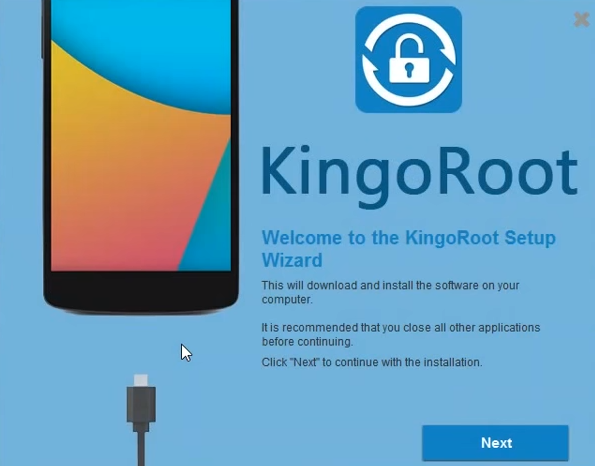
Method 2: Using the desktop version of KingoRoot
Step 1: Download and install the desktop version of KingoRoot.
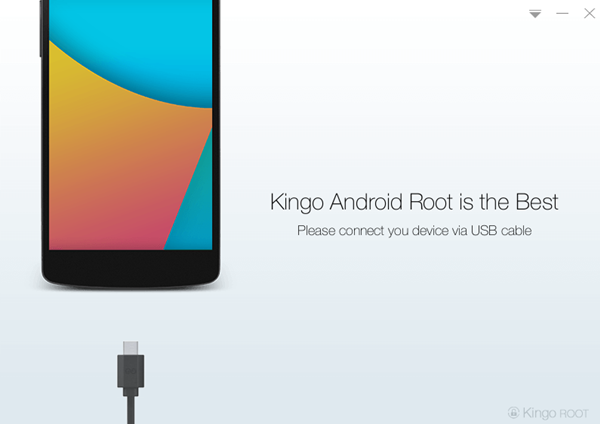
Step 2: Connect your phone to your computer via USB cable.
Step 3: Enable USB debugging mode on your phone.
- On Android 4.1 and lower, tap Settings, select Developer options, and then enable USB debugging.
- On Android 4.2 and higher, tap Settings > About Phone, then scroll to the bottom and tap Build number seven times. Developer options will now appear on the Settings screen.
For a step-by-step tutorial on how to enable USB Debugging mode, click here.
Step 4: Open the KingoRoot software and Click Root.
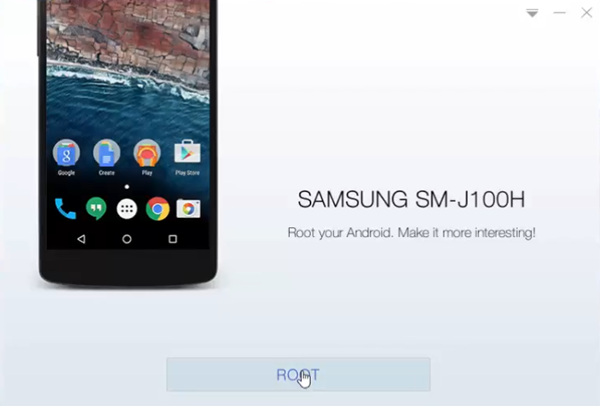
Step 5: The tool will now start rooting your phone. Give it time to finish the rooting process. When it’s done, you’ll get a success message:

That’s it! You’ve successfully rooted your phone.
If you run into any problems with one of the methods, try another. If that doesn’t work, drop me a line in the comments section below.